Set Project Look 4: Gabriel Digital Process
The first step was to draw the sketch, scan it and then put it on Photopea to start the digital process.

Due to this looks' top being a bit of sheer, I did not clean the breast area in order to indicate how tight fitting it is. Hence I cleaned up the other parts using white, flow 100%, opacity 100%, hard mechanical brush and size 5px.
The first step was to go over the graphics using hard mechanical brush, opacity 90%, flow 100% and 4px size.


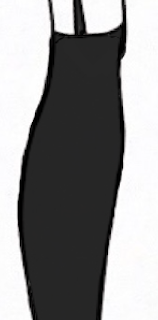
For the skirt, I chose opacity 90%, flow 100%, hard mechanical brush and size 24px and then 4px to fill it in and then cleaned it up using white, flow 100%, opacity 100%, hard mechanical brush and size 3px.

For the garter I chose 81% opacity, 100% flow, hard mechanical brush and size 5px.
 For the stocking I chose the same as the garter and then cleaned it up again using white.
 I then filled up the places where there was no colour.

 For the bag strap and the front of the bag I chose opacity 94%, flow 100%, hard mechanical brush and 5px size.


For the left shoe which is the over the knee one, I chose opacity 85%, flow 100%, hard mechanical brush and size 24px and then cleaned it up using white again.
For the right shoe white is the low rise sock boot I chose 80% opacity, 100% flow, hard mechanical brush and 20px size.
For the back of the shoe, I chose 70% opacity, 100% flow, hard mechanical brush and size 8px. To fill in the heel, I chose 93% opacity, 100% flow, hard mechanical brush and size 8 px.


For the sides of the the bag I chose opacity 43%, hard mechanical brush, flow 100% and 4px size.


Comments
Post a Comment